It was a beautiful sunshiny day – usually the type of day we would be wishing to be up the fells, but it is also nice to be able to work on the van without having to try and shield everything from the rain. The good weather gave us the perfect opportunity (and space) to measure and cut the new floor ply. We also finished off the floor insulation and prepared the ceiling insulation for our next available day.
Floor Ply
With the old floor ply in place, we marked on any areas that needed amending on the new, any areas that needed further trimming now the walls have a little extra padding, as well as any areas that we would need to leave extra on when cutting out, areas that were not sitting as flush with the walls and wheel arches as we would have liked. We cut the new floor ply in the same way the old one had been done, in 3 pieces – one across the top by the seats and two running the length of the van. Using the old bits as a stencil we marked up the new ply and then jigsawed our desired shapes. It took a little trial and error to get the three pieces to fit in perfectly, planing and sanding to get the smaller adjustments just right.
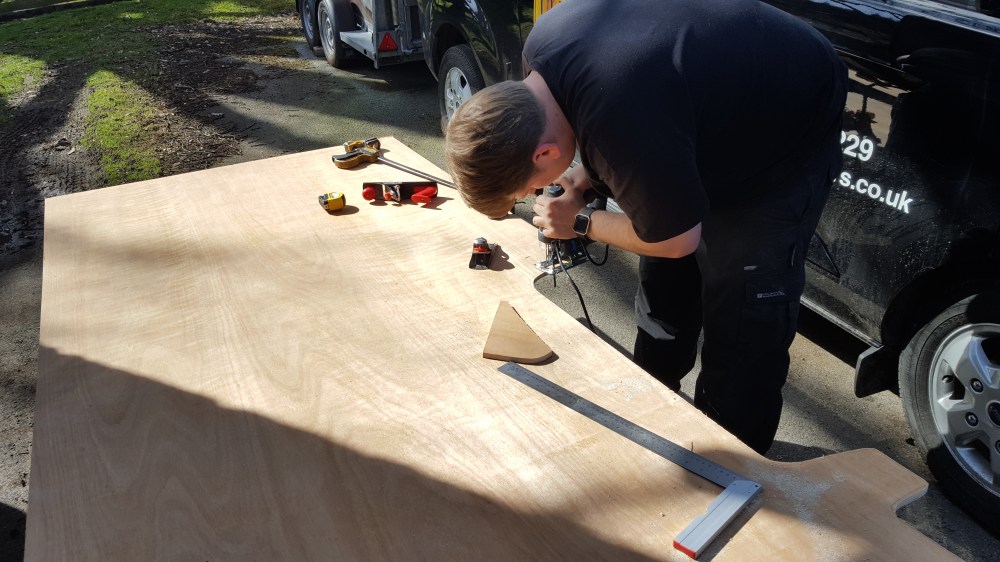
We both consider ourselves pretty lucky where the floor is concerned – we had expected it to be a lot more time consuming than it was, despite a little trial and error the whole job took as about an hour and when the new ply went in, we realised just how grubby the old stuff was – it looked bright and shiny and like a big step forward!
Sealing the Gold
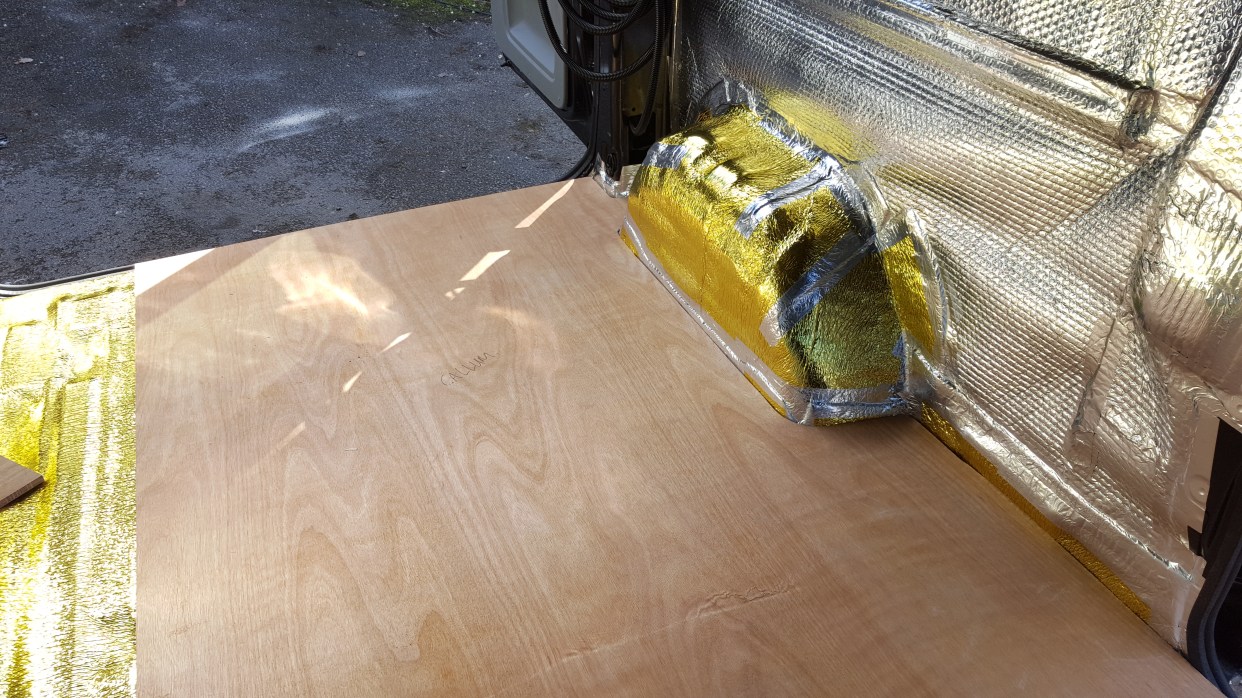
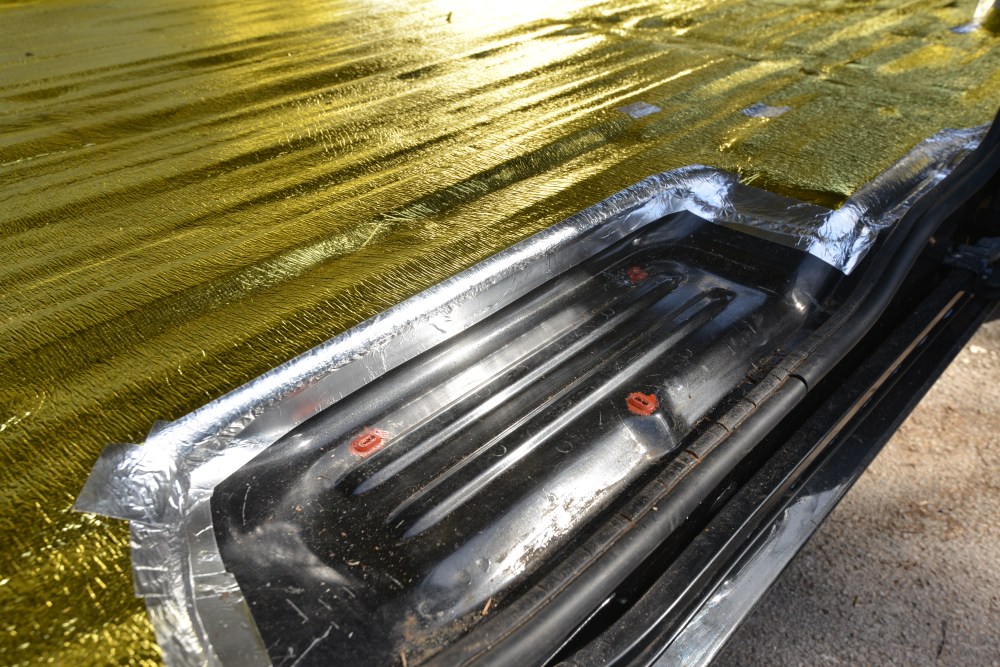
Whilst Callum was the one to do the majority of the sanding and planing, I used the time to seal the gold floor to the silver walls. Exactly the same as when I was creating a sealed edge on the silver wall insulation, I used fairly long strips to secure the edges as well as creating a decent moisture barrier, it also helped to smooth out any of the rougher edges, leaving a relatively flush surface on the wall – this proved invaluable when we were hopping in and out trying to get the floor ply to fit.
Prepping Ceiling Insulation
Once we got the floor to fit and it was all snuggly in place, we had a little time left and decided to use this to do the very first steps in insulating the ceiling. I roughly measured out how much of the recycled wool we would need and cut the pieces out ready to fit for the full ceiling space, so on our next day we could get stuck straight into the gluing.
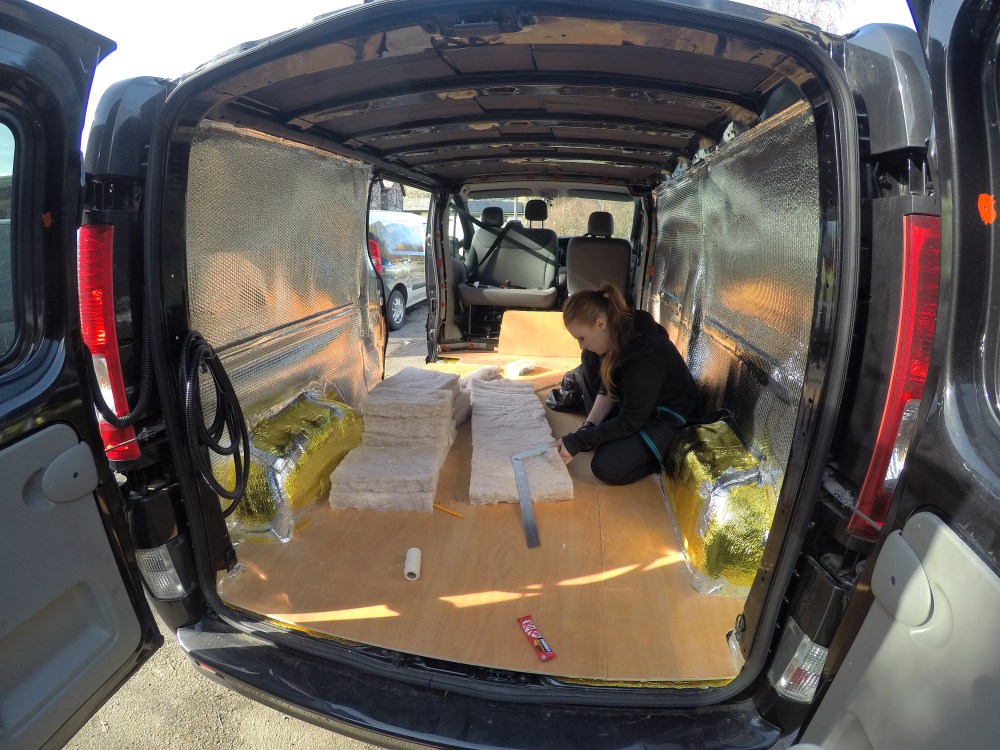
We also attached two right angled brackets at either end of the van, at the right height to support the ceiling battens when they are final put in place. This will hopefully secure them at the ends, reducing the strain on the screws being used to hold the battens, and subsequently ceiling, in place.
